How To Get Windows XP/Windows 7 Look on Your Windows 10 computerClassic ShellUxStyle
Luckily for Windows tinkerers, there are many tools that can help you customize Microsoft’s OS to suit your own tastes, on-screen visuals, etc. In this article, we will show how you can skin Windows 10’s taskbar to give it a Windows XP appearance.
Classic Shell
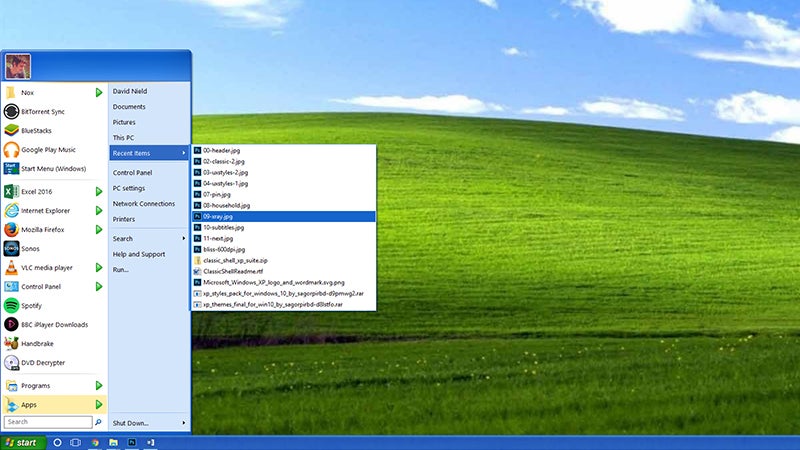
Let’s first start with ‘Classic Shell’, which lets you skin the taskbar in Windows 10 and change it to Windows XP or Windows 7. The user can change the taskbar text color, change the color to make it different from the title bar color, change its transparency or set a background image or texture for the Windows taskbar. It also adds some productivity improvements, adding various tweaks to File Explorer and the Start menu. Install the program on your Windows 10 machine and then right-click on the taskbar and select Settings. Toggle the Use small taskbar buttons switch to ‘On’, then click Colours and choose blue that is to the extreme left on the third row down. Scroll down and ensure that Show colour on title bar is enabled. Once those Windows tweaks are taken care of, then download the Classic Shell XP Suite or Classic Shell Windows 7 suite from Winaero and extract all its files to any folder you like. The archive contains the taskbar texture, the wallpaper and the Start button to be used with Classic Shell. Right click the Start menu button to open Classic Start Menu Settings.
UxStyle
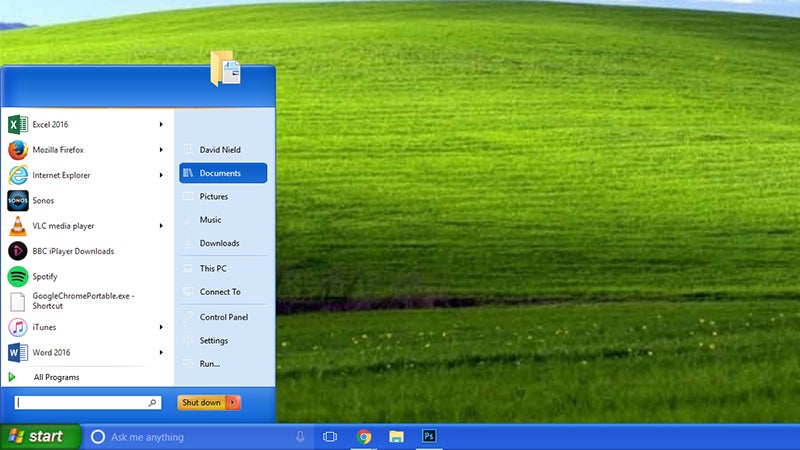
Conversely, you can also use the theming tool UxStyle to do the job (use the Windows 10 Technical Preview version). While this process is a little less involved than the Classic Shell one, but the end results is a touch more authentic, although the software you need isn’t all freeware. Once you have installed UxStyle, go to Sagorpirbd’s DeviantArt page to get hold of some authentic looking Windows XP themes for Windows 10 — UxStyle relaxes the Windows theme signature requirements just enough to get these themes installed. The themes come in a RAR archive, and you need to extract them to the %windir%\Resources\Themes\ folder (just type the path into a File Explorer address bar). If you don’t already have a program that can extract RAR archives, 7-Zip will help you to do the job.
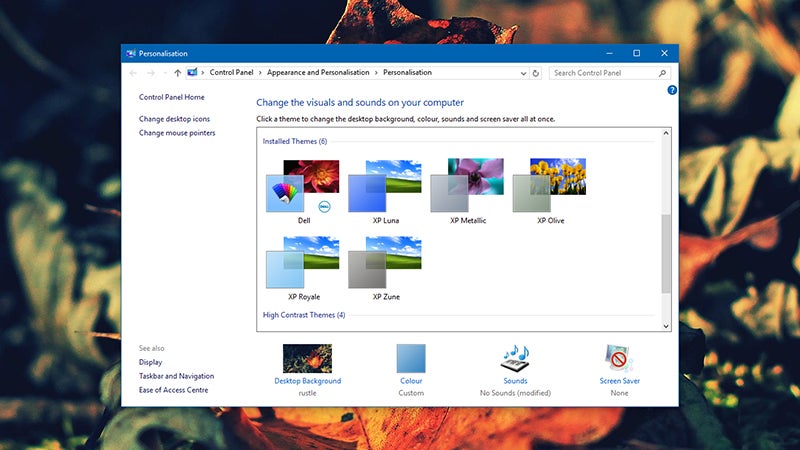
Once that is done, you can open up the Personalisation dialog as usual: Right-click on a blank area of the desktop and select Personalise. Choose Themes, and then Theme settings. If you scroll down, you will be able to view your newly installed XP themes. You will also notice that they are no changes in the taskbar, as this needs another tweak. You need the utility StartIsBack and a separate set of Start menu and taskbar skins. In this case, you need to copy your downloaded RAR files to the folder C:\Users\AppData\Local\StartIsBack\Orbs (for the orbs) and C:\Users\AppData\Local\StartIsBack\Styles (for the styles), at which point StartIsBack should be able to view them. Right-click the Start menu button, choose Properties, and the StartIsBack options panel appears. You can finish the XP transformation under the Appearance tab. Please note that the program is only free for 30 days, after which you will need to register it for $US2.99 ($4). Also Read- Best Windows Themes/Skins To Improve Your Windows 10 Look


